Getting Docker set up for my project was a HUGE step for me. I’ve never played with docker before, yet it has shown up in at least two separate interview questions that I’ve been through.
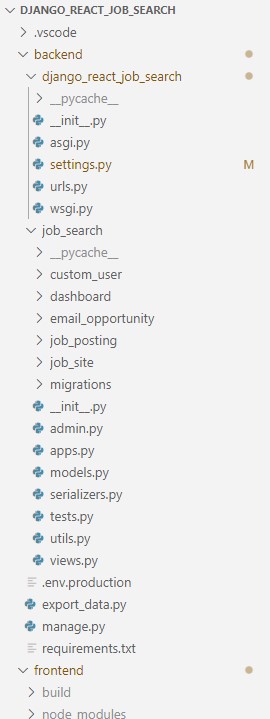
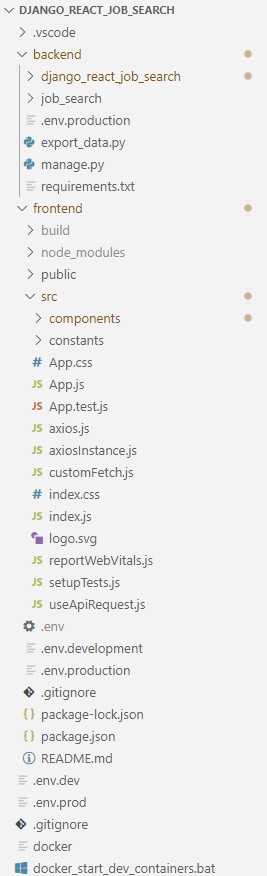
I needed to keep my container count down as low as possible since containers cost money ($5 or $7 per container per month on AWS). So, I kept my one repository setup with both Django and React running out of the same file space. I also need a React front end on my laptop to access the Django API directly on the AWS container. However, during the course of setting up my docker file, I learned that the way my code was organized was not necessarily conventional. Having both the front-end and back-end code in one repository is fine, but they still need to have separate file spaces (and not be intertwined like mine was). So I moved all of the back-end code within the repository into its own folder.
My next step proved to be the most challenging: install Docker Desktop on Windows 10. I have had McAfee Anti-Virus for over a decade and really did not think anything of it, until this fateful day… I downloaded the Docker Desktop AMD64 (even though I have an Intel Core i5) and tried to install it. The installation failed due to the McAfee Management Framework Service. Reading online, I tried disabling the firewall and had no luck. I tried turning off the real-time scanning with the timer set to 1 hour, and this still didn’t work. It finally took a phone call with their tech support to learn that the proper way is to “turn it OFF (permanently) and resume real-time scanning never” and then reboot the PC! With the PC rebooted, the Docker Desktop was able to install correctly. I then turned McAfee back on.
The next step was to create a docker file. I have seen these twice before in interviews. Both times, with a quick Google search, I was able to piece the file together. With no time constraints, I really dug into learning each individual line and what it does. The one production docker file creates the front end stage, then creates the back end, and finally copies the front end stage into the back end, creating one container.
My laptop is currently running Python 3.12, so I set the docker file to use that image. On the front end, I’ve been using Node Package Manager 20, so I used the Node 20 image.
# PRODUCTION Docker File

# First Stage - Build the React App
FROM node:20 AS react_build
WORKDIR /app/frontend

# Copy package.json and package-lock.json separately for better caching
COPY frontend/package.json frontend/package-lock.json ./
RUN npm install
COPY frontend ./
RUN npm run build


# Stage 2: Setup Django backend
FROM python:3.12-slim AS backend_build
WORKDIR /app/backend

# By default, Python buffers stdout and stderr, meaning logs might not appear immediately.
# Setting PYTHONUNBUFFERED=1 forces Python to output logs directly,
ENV PYTHONUNBUFFERED=1

# Copy backend (with dependancies) and install
COPY backend/ .
RUN pip install --upgrade pip && \
    apt-get update && apt-get install -y \
    default-libmysqlclient-dev \
    pkg-config build-essential apt-utils && \
    pip install --no-cache-dir -r requirements.txt


# Final Stage: combine and run
COPY --from=react_build /app/frontend/build/ /app/backend/staticfiles/

# Expose port if needed (e.g., for Django app)
EXPOSE 8000

# Define the command to run the application
CMD ["python", "manage.py", "runserver", "0.0.0.0:8000"]
However I don’t have that cost constraint for development, so there are two development docker files: one for the front end and the other for the back end.
# DEVELOPMENT Backend / Django Docker File
# Setup Django backend
FROM python:3.12-slim
WORKDIR /app/backend
ENV PYTHONUNBUFFERED=1
COPY backend/requirements.txt .
# RUN pip install --no-cache-dir -r requirements.txt
RUN pip install --upgrade pip && \
    apt-get update && apt-get install -y \
    default-libmysqlclient-dev \
    pkg-config build-essential apt-utils && \
    pip install --no-cache-dir -r requirements.txt

# Expose port if needed (e.g., for Django app)
EXPOSE 8000

# Define the command to run the Django app in development mode
CMD ["python", "manage.py", "runserver", "0.0.0.0:8000"]
# DEVELOPMENT Frontend Docker File
# Build the React App
FROM node:20 AS react_build
WORKDIR /app/frontend
# Copy package.json and package-lock.json separately for better caching
COPY frontend/package.json frontend/package-lock.json ./
RUN npm install
# Expose port for React development server (no need for port on production server)
EXPOSE 3000
# Define the command to run the React app in development mode (with hot-reloading)
CMD ["npm", "start"]
NPM and Python store their dependency lists differently. NPM uses the local package.json while Python installs libraries globally in the system with nothing local specifying the project dependencies. Docker needs these dependencies to know what to install.
The backend libraries used are mostly listed in the settings.py file in the INSTALLED_APPS list. However, this list does not include their version numbers and does not necessarily have a 1:1 relationship with the system libraries installed. To obtain the versions necessary for the requirements.txt file, I used the command pip install that outputs all libraries installed in the system and their version number. This cross reference gave me most of the entries for the file, but not all. Test building the image helped me determine the other handful of libraries that I needed. The final content of my requirements.txt file is:
// backend/requirements.txt
Django==5.1.3
djangorestframework==3.15.2
djangorestframework-simplejwt==5.3.1
django-cors-headers==4.4.0
mysqlclient==2.2.6
python-dotenv==1.0.1
django-environ==0.11.2
The docker file just describes the docker container itself. To run it, I’ve been using docker-compose. The compose uses the YML file. The big trick with this YML was the database. We don’t want the database to be inside the container, but rather outside of the container. To do this, we use a special docker alias for the DB_HOST to point to the MariaDB on my laptop. Eventually, we’ll be using the MySQL database on this AWS LightSail WordPress Instance. Here is my final docker-compose.yml file:
services:
  # Backend Service (Django)
  backend:
    build:
      context: .  # Points to the current directory, Dockerfile is in here
      dockerfile: Dockerfile.dev.backend  # Points to the development Dockerfile
    volumes:
      - ./backend:/app/backend  # Mounts the backend directory to allow live code changes
    ports:
      - "8000:8000"  # Exposes the Django backend on port 8000
    environment:
      - DB_HOST=host.docker.internal  # This tells Docker to use the laptop's localhost
      - DB_PORT=3306
    container_name: job-search-django-backend-container  # Custom container name for the backend

  # Frontend Service
  frontend:
    build:
      context: .  # Again, the current directory
      dockerfile: Dockerfile.dev.frontend  # Points to the development Dockerfile for React
    volumes:
      - ./frontend:/app/frontend  # Mounts the frontend directory for live code changes
      - /app/frontend/node_modules  # Avoid overriding node_modules in container
    ports:
      - "3000:3000"  # Exposes the React frontend on port 3000
    command: npm start --host 0.0.0.0  # Ensure it binds to all interfaces
    environment:
      - CHOKIDAR_USEPOLLING=true  # Useful for watching file changes inside Docker
    container_name: job-search-react-frontend-container  # Custom container name for the backend
For this to work, I had to adjust my Django settings.py file. Here are the applicable changes:
from pathlib import Path
import os
import environ

# Load environment variables from .env explicitly
load_dotenv(os.path.join(BASE_DIR, ".env"))

# Environment settings
DJANGO_ENV = os.getenv("DJANGO_ENV", "production")
ENABLE_AUTH = os.getenv("ENABLE_AUTH", "True") == "True"

# Database
# https://docs.djangoproject.com/en/4.2/ref/settings/#databases
DATABASES = {
    'default': {
        'ENGINE': 'django.db.backends.mysql',  # Use MySQL engine for MariaDB compatibility
        'NAME': os.getenv('DB_NAME', 'django_job_search'),
        'USER': os.getenv('DB_USER', 'django_app'),
        'PASSWORD': os.getenv('DB_PASSWORD', 'django_app'),
        'HOST': os.getenv('DB_HOST', 'localhost'),
        'PORT': os.getenv('DB_PORT', '3306'),
        'OPTIONS': {
            'charset': 'utf8mb4',  # Set charset to utf8mb4 for better Unicode support
            'collation': 'utf8mb4_unicode_ci',  # Ensure the collation is utf8mb4-based
        },
    }
}
And my final, cleaned up env for development:
DJANGO_ENV=development

# Development AWS environment configuration
ENABLE_AUTH=True  # Enable authentication for AWS development

# CORS settings for development
CORS_ALLOW_CREDENTIALS=True
CORS_ORIGIN_ALLOW_ALL=True    # Simple for Dev, allow any and all
CORS_ALLOWED_ORIGINS=http://localhost:3000      #not necessary with allow all set to true.

# Optional: You could also specify different Django settings for your backend
DEBUG=False
SECRET_KEY=your-secret-key

# Database connection
DB_HOST=localhost
DB_PORT=3306
DB_NAME=django_job_search
DB_USER=django_app
DB_PASSWORD=django_app

# Optional settings for production
# ENABLE_LOGGING=True  # Enable detailed logging in production (commented out for now)
Now that I have docker fully running on my laptop, my next step is to migrate the database over to my AWS Lightsail WordPress MySQL database. That will become my official production relational database for this app.